
How to change email add in facebook
Method 1: iOS
1. Touch the Facebook app.
2. Touch the menu switch. This is the 3 horizontal lines in the lower-right edge of your display.
3. Tap Setups. It goes to the very lower of the web page.
4. Faucet Account Setup.
5. Tap General.
6. Faucet Email.
7. Faucet Add Email Address to include an e-mail.
8. Kind your email and also password into packages given.
9. Tap Include Email. This e-mail will certainly be included in the checklist of e-mails that are connected to your Facebook.
10. Tap Remove to erase an email. The get rid of switch is situated next to any emails that typically aren't your primary e-mail.
You can not erase your main email without changing it first.
11. Tap Primary Email to switch your key email. You'll be offered a page where you can touch on any of the e-mails you have on document to establish that email as your key. This is the email that Facebook uses to contact you if you have email notifications on, in addition to the e-mail you'll use to log right into Facebook.
After touching on your preferred key email, type your Facebook password right into the box listed below as well as tap Save.
Method 2: Android Mobile App
1. Touch the Facebook app.
2. Enter your login info. If you typically aren't immediately visited, type in your login email as well as password.
3. Open up the setups menu. Faucet on the menu symbol on the far best side of the leading navigation bar. It resembles three horizontal lines piled on top of each various other.
4. Tap on "Account Setup." Scroll down up until you get to the "HELP & SETUP" heading. Faucet on the "Account Setup" switch. This button resembles a person with a cog wheel near its shoulder.
5. Faucet "General." It will certainly show up with a gear icon next to it. This will certainly bring you to a new menu with your call information.
6. Faucet "Email." You will certainly see a new home window with all of the e-mail accounts you have connected to your Facebook.
If you just have one email address connected to your Facebook account, that email is the default main e-mail.
If you intend to erase an e-mail address, click the "Get rid of" web link to the right of it.
If you already have actually numerous emails connected with your account as well as simply want to transform the main to one of those, miss in advance to Tip 9.
7. Add a new e-mail. Click the "Include Email Address" link. Key in the new e-mail address and also your password, and also faucet "Include Email."
Facebook will send you a verification e-mail with a special confirmation number. Inspect your email for the unique code, as well as write it down.
Browse back to the Email settings, and click "Confirm Email Address." Enter your code, and also hit "Verify.".
If you did not obtain the verification email, you can touch the "Resend verification email" switch to have an additional code sent out to you.
If you intend to alter the email address, you could touch the "Change email address" switch to earn your adjustments.
8. Browse to the "Account Emails" setups under "Account Setup, "General, Email.".
9. Tap the "Main Email" button. This will bring you to a brand-new display where you can mark the email you want you make use of as a main.
10. Choose your primary email. Tap on the e-mail you desire to be the new key e-mail account. A check mark will show up alongside your choice.
11. Key in your password. Type your password right into the text box on the screen, and also tap the "Conserve" switch. Your changes will be made.
Technique 3: Desktop
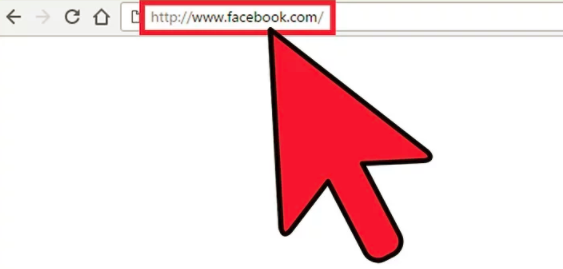
1. Most likely to Facebook. Go here, or enter www.facebook.com right into your web internet browser to access the Facebook site.
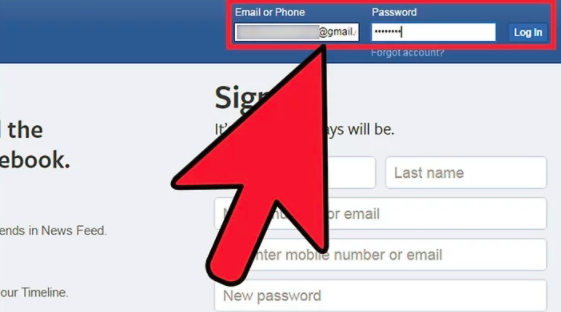
2. Enter your login details. If you aren't instantly visited, type in your login email as well as password.
If you have forgotten your login info, click on the "Forgot account?" link below the password field. This will certainly bring you to a password recuperation web page.
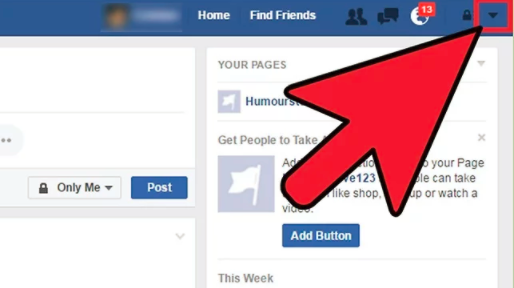
3. Click the drop-down arrow. The button, situated at the top-righthand edge of your display, will certainly open up a brand-new menu.
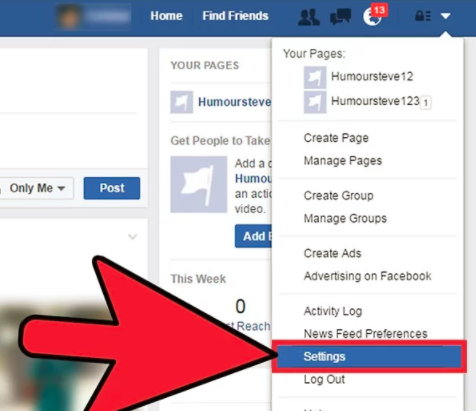
4. Click on "Setups." The switch lies towards all-time low of the menu. You will be offered your "General Account Setups" screen.
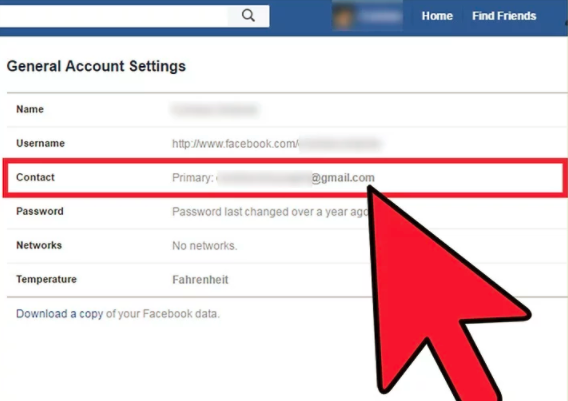
5. Click the "Get in touch with" area. You will certainly see a checklist of your signed up email accounts here. Your main contact e-mail will certainly be marked because of this by a rounded radio switch.
Additionally, you can modify your email contact settings by clicking on the "Edit" button on the much right of the "Get in touch with" field.
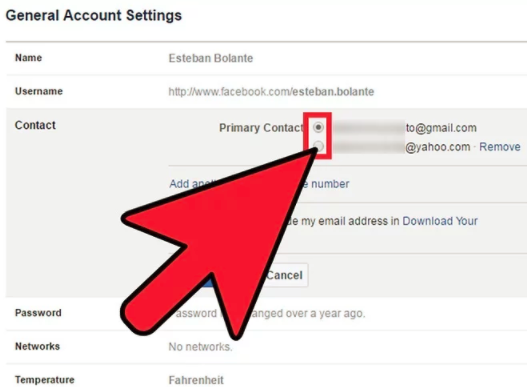
6. Click the radio button to choose your main e-mail. The radio switches are situated next to each e-mail you have signed up.
If you only have one email address connected to your Facebook account, that email is the default key email.
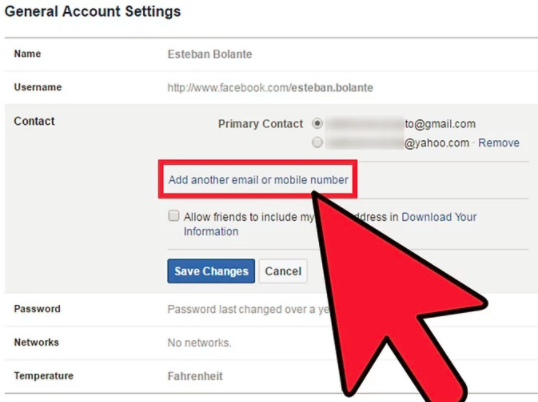
7. Click on the "Include another e-mail or mobile number" web link (optional). Key in the brand-new email address and your password, and also click "Include.".
Facebook will certainly send you a verification email that you should open to validate your changes.
You will certainly should key in your Facebook password to conserve your changes.
If you intend to delete an email address, click the "Remove" link to the right of it.
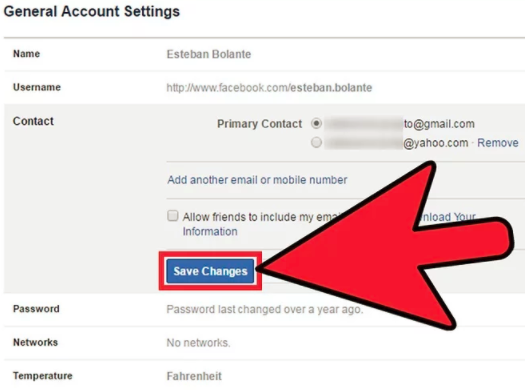
8. Click "Save Modifications." The e-mail you marked will now be used as the primary email related to your account.
You will get a verification e-mail from Facebook that verifies your changes.